Single Sign On
Keep your dashboard account secure
Overview
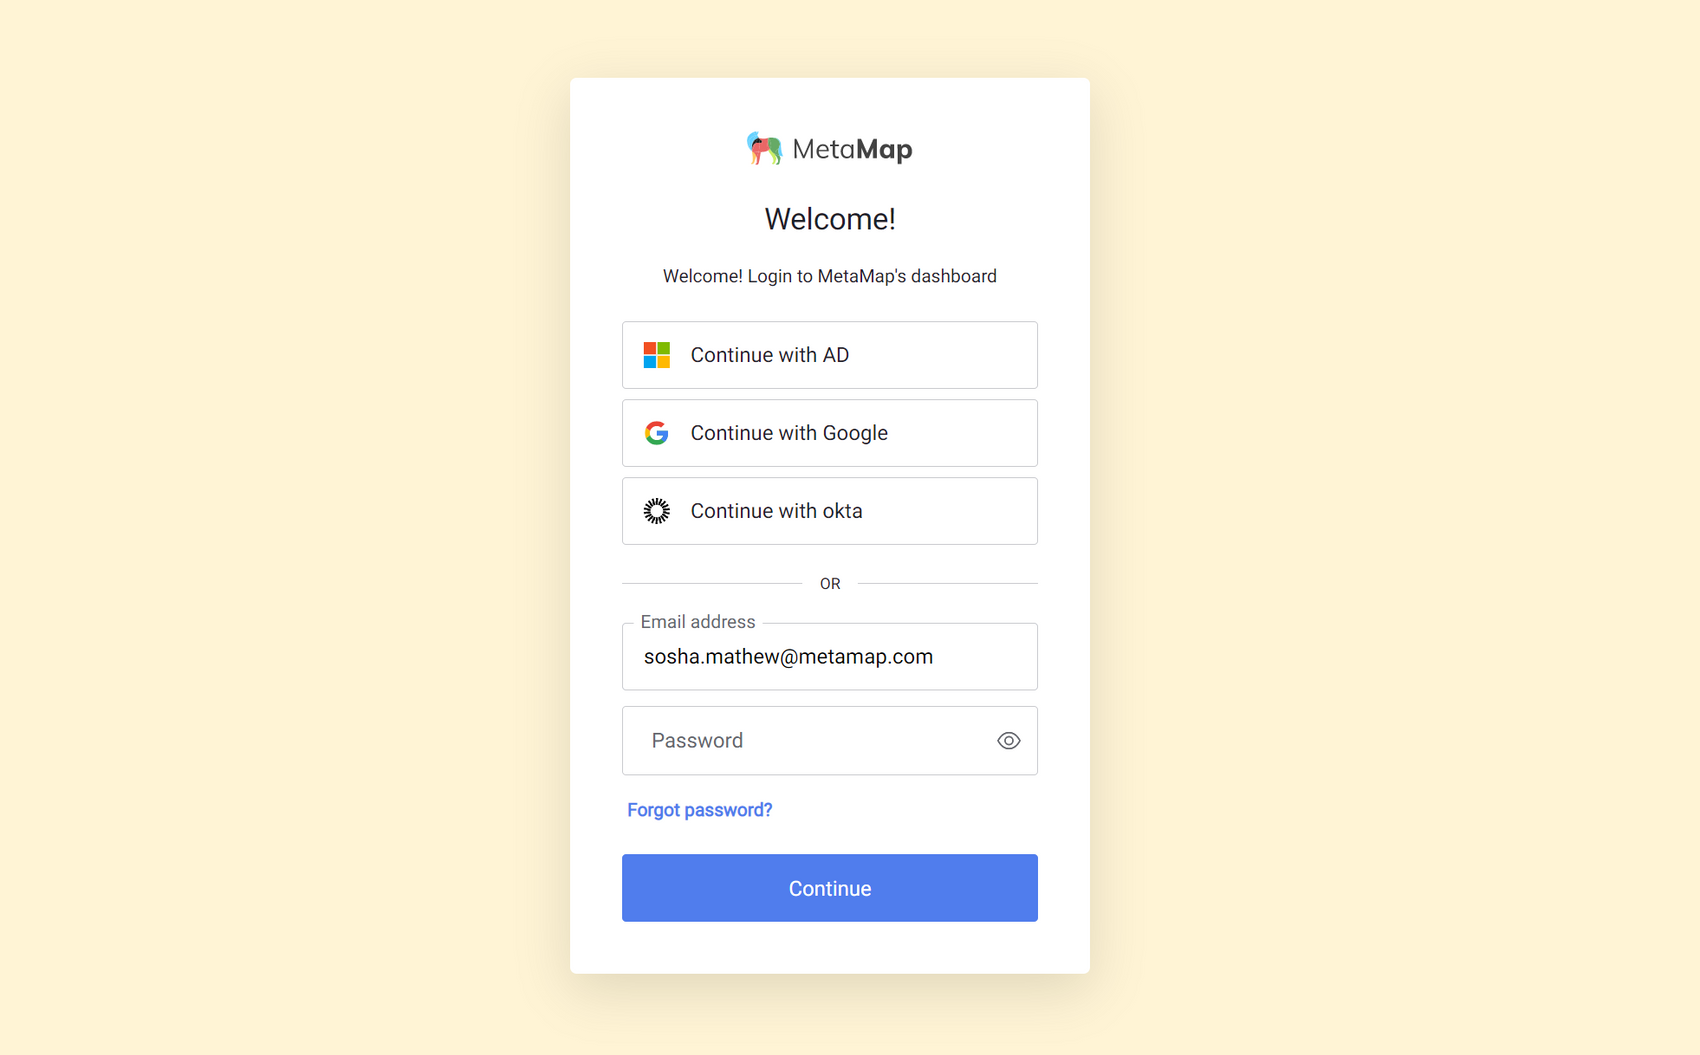
Set up Single Sign On (SSO) for your employees to login to the MetaMap dashboard with their existing work email credentials.
You can customize your dashboard login page to use a range of identity providers (IDPs) - such as Microsoft Azure Active Directory and Okta Workforce, as well as social login providers - Google, Linkedin, Slack and more.
User experience
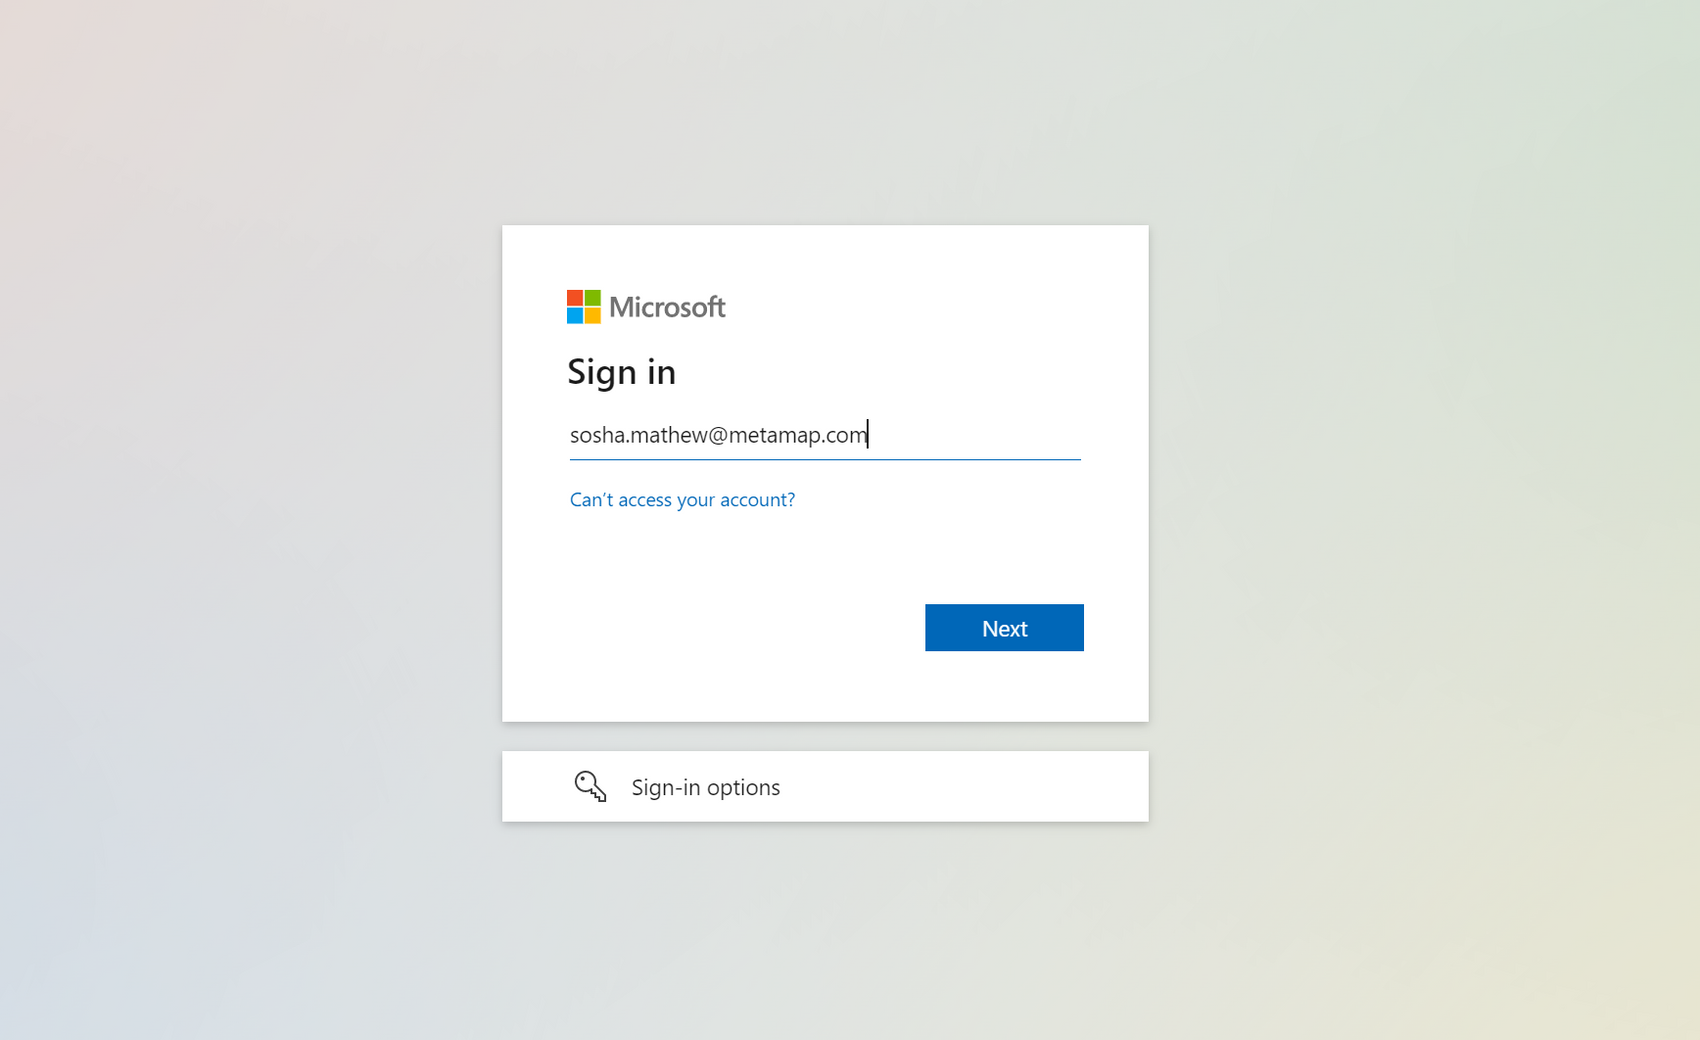
When you set up an enterprise connection, your employees will be directed to your chosen identity provider to authenticate every time they sign up or login.
Supported identity providers (IDPs)
We support the following enterprise identity providers:
- SAML
- OpenID Connect
- Okta Workforce
- Google Workspace
- Microsoft Azure AD
- ADFS
- Active Directory/ LDAP
- Ping Federate
Supported social logins
We support the following social logins: Google, Apple, Facebook, Twitter, LinkedIn, Microsoft, GitHub, Instagram, WordPress, Amazon, Salesforce, PayPal, Shopify, WeChat, Line, QQ, RenRen, VK, Yandex, Microsoft Office 365, Dropbox, and more.
Setup instructions
Need help?
Contact [email protected] and we would be glad to assist
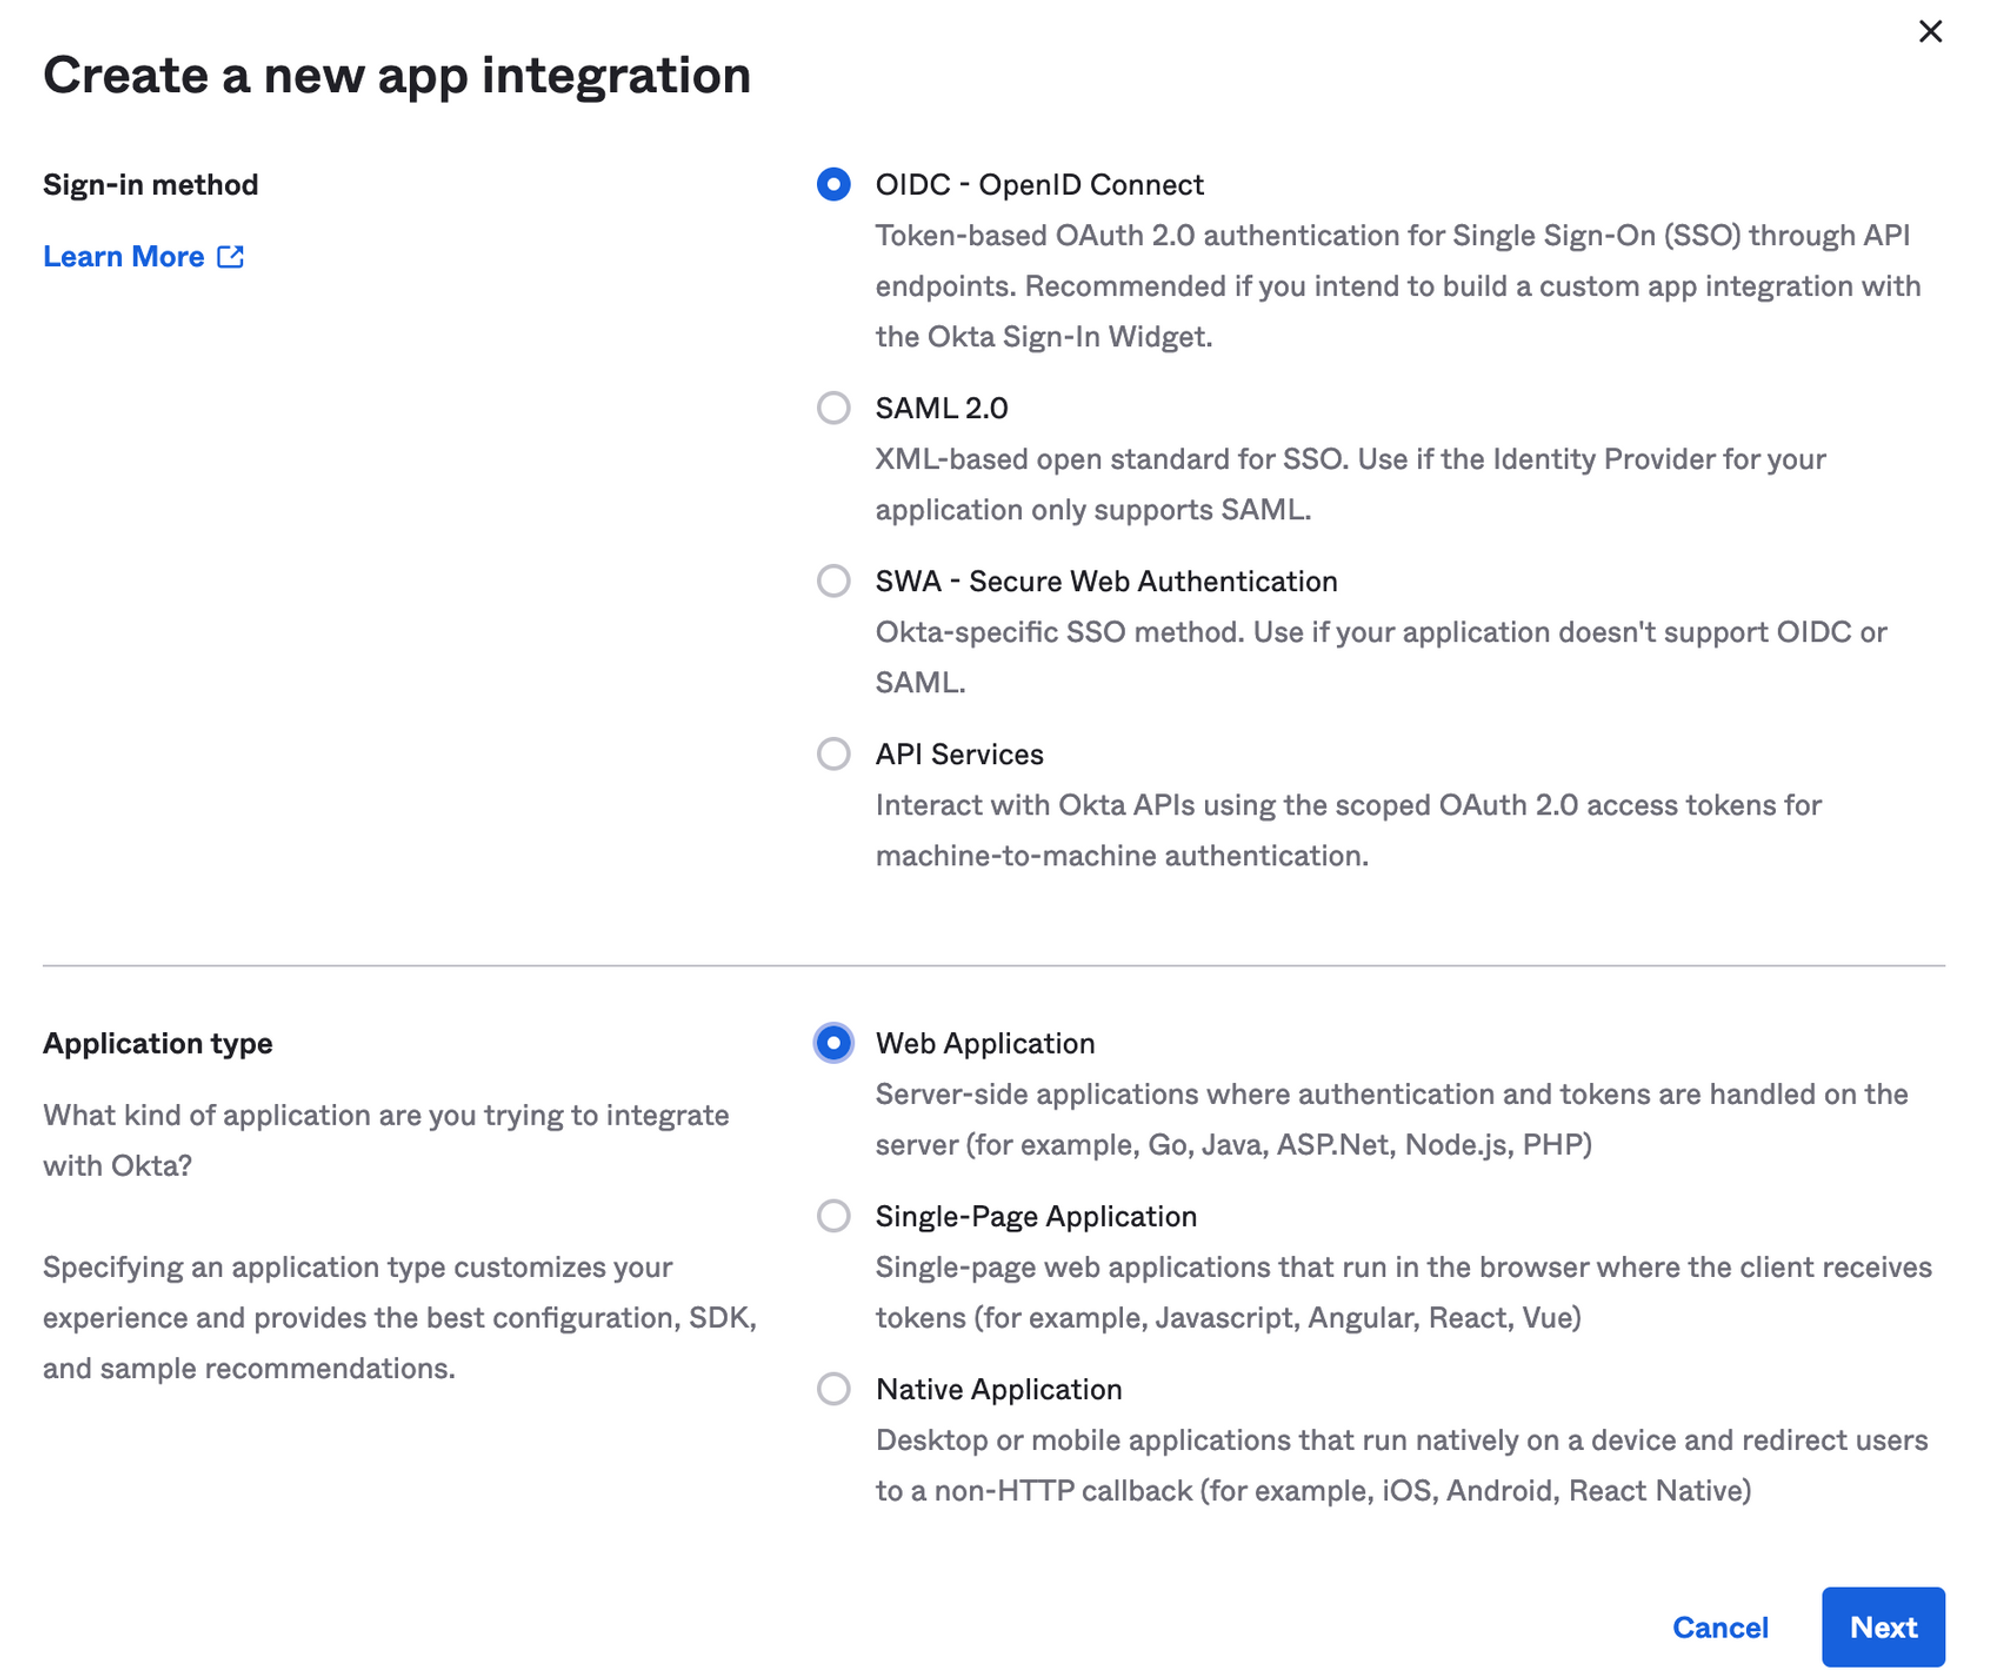
Step 1: Configure your identity provider
Microsoft Azure Active Directory
-
Set up a new Active Directory (AD) application
Follow Microsoft’s documentation on how to create a new Active Directory application in your Active Directory portal: https://learn.microsoft.com/en-us/azure/active-directory/develop/quickstart-register-app
-
Enter the following Redirect URI in your new AD application
-
Collect the following data from your Active Directory portal
-
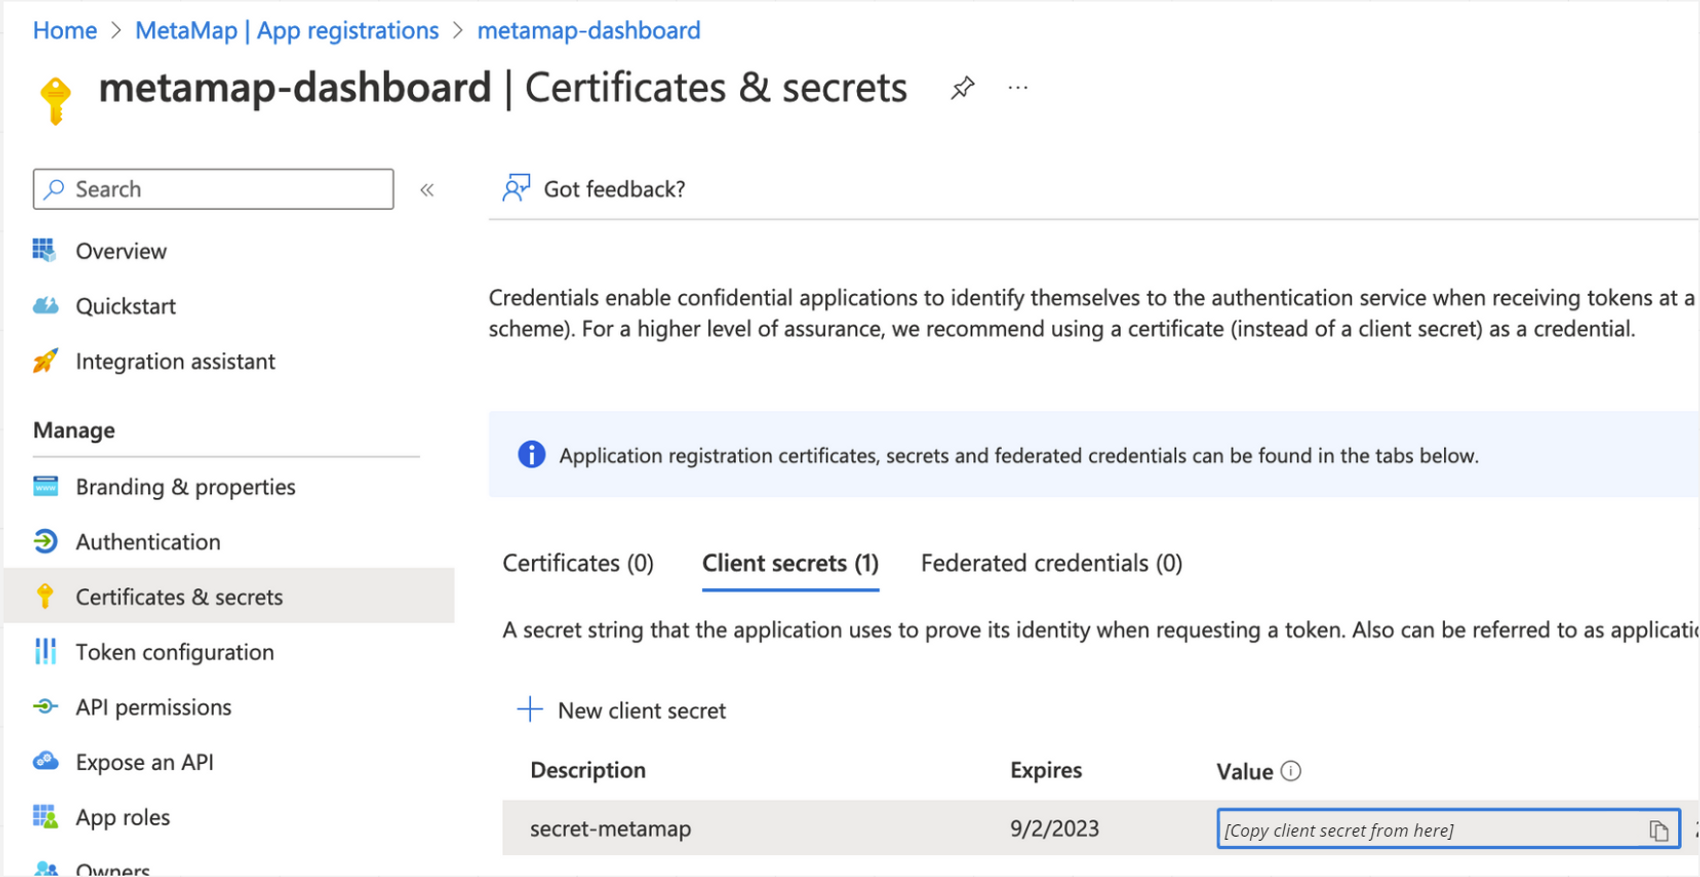
Client secret- Under Manage > Certificates & secrets, click to create a new client secret
- Copy the client secret and the expiration date
-
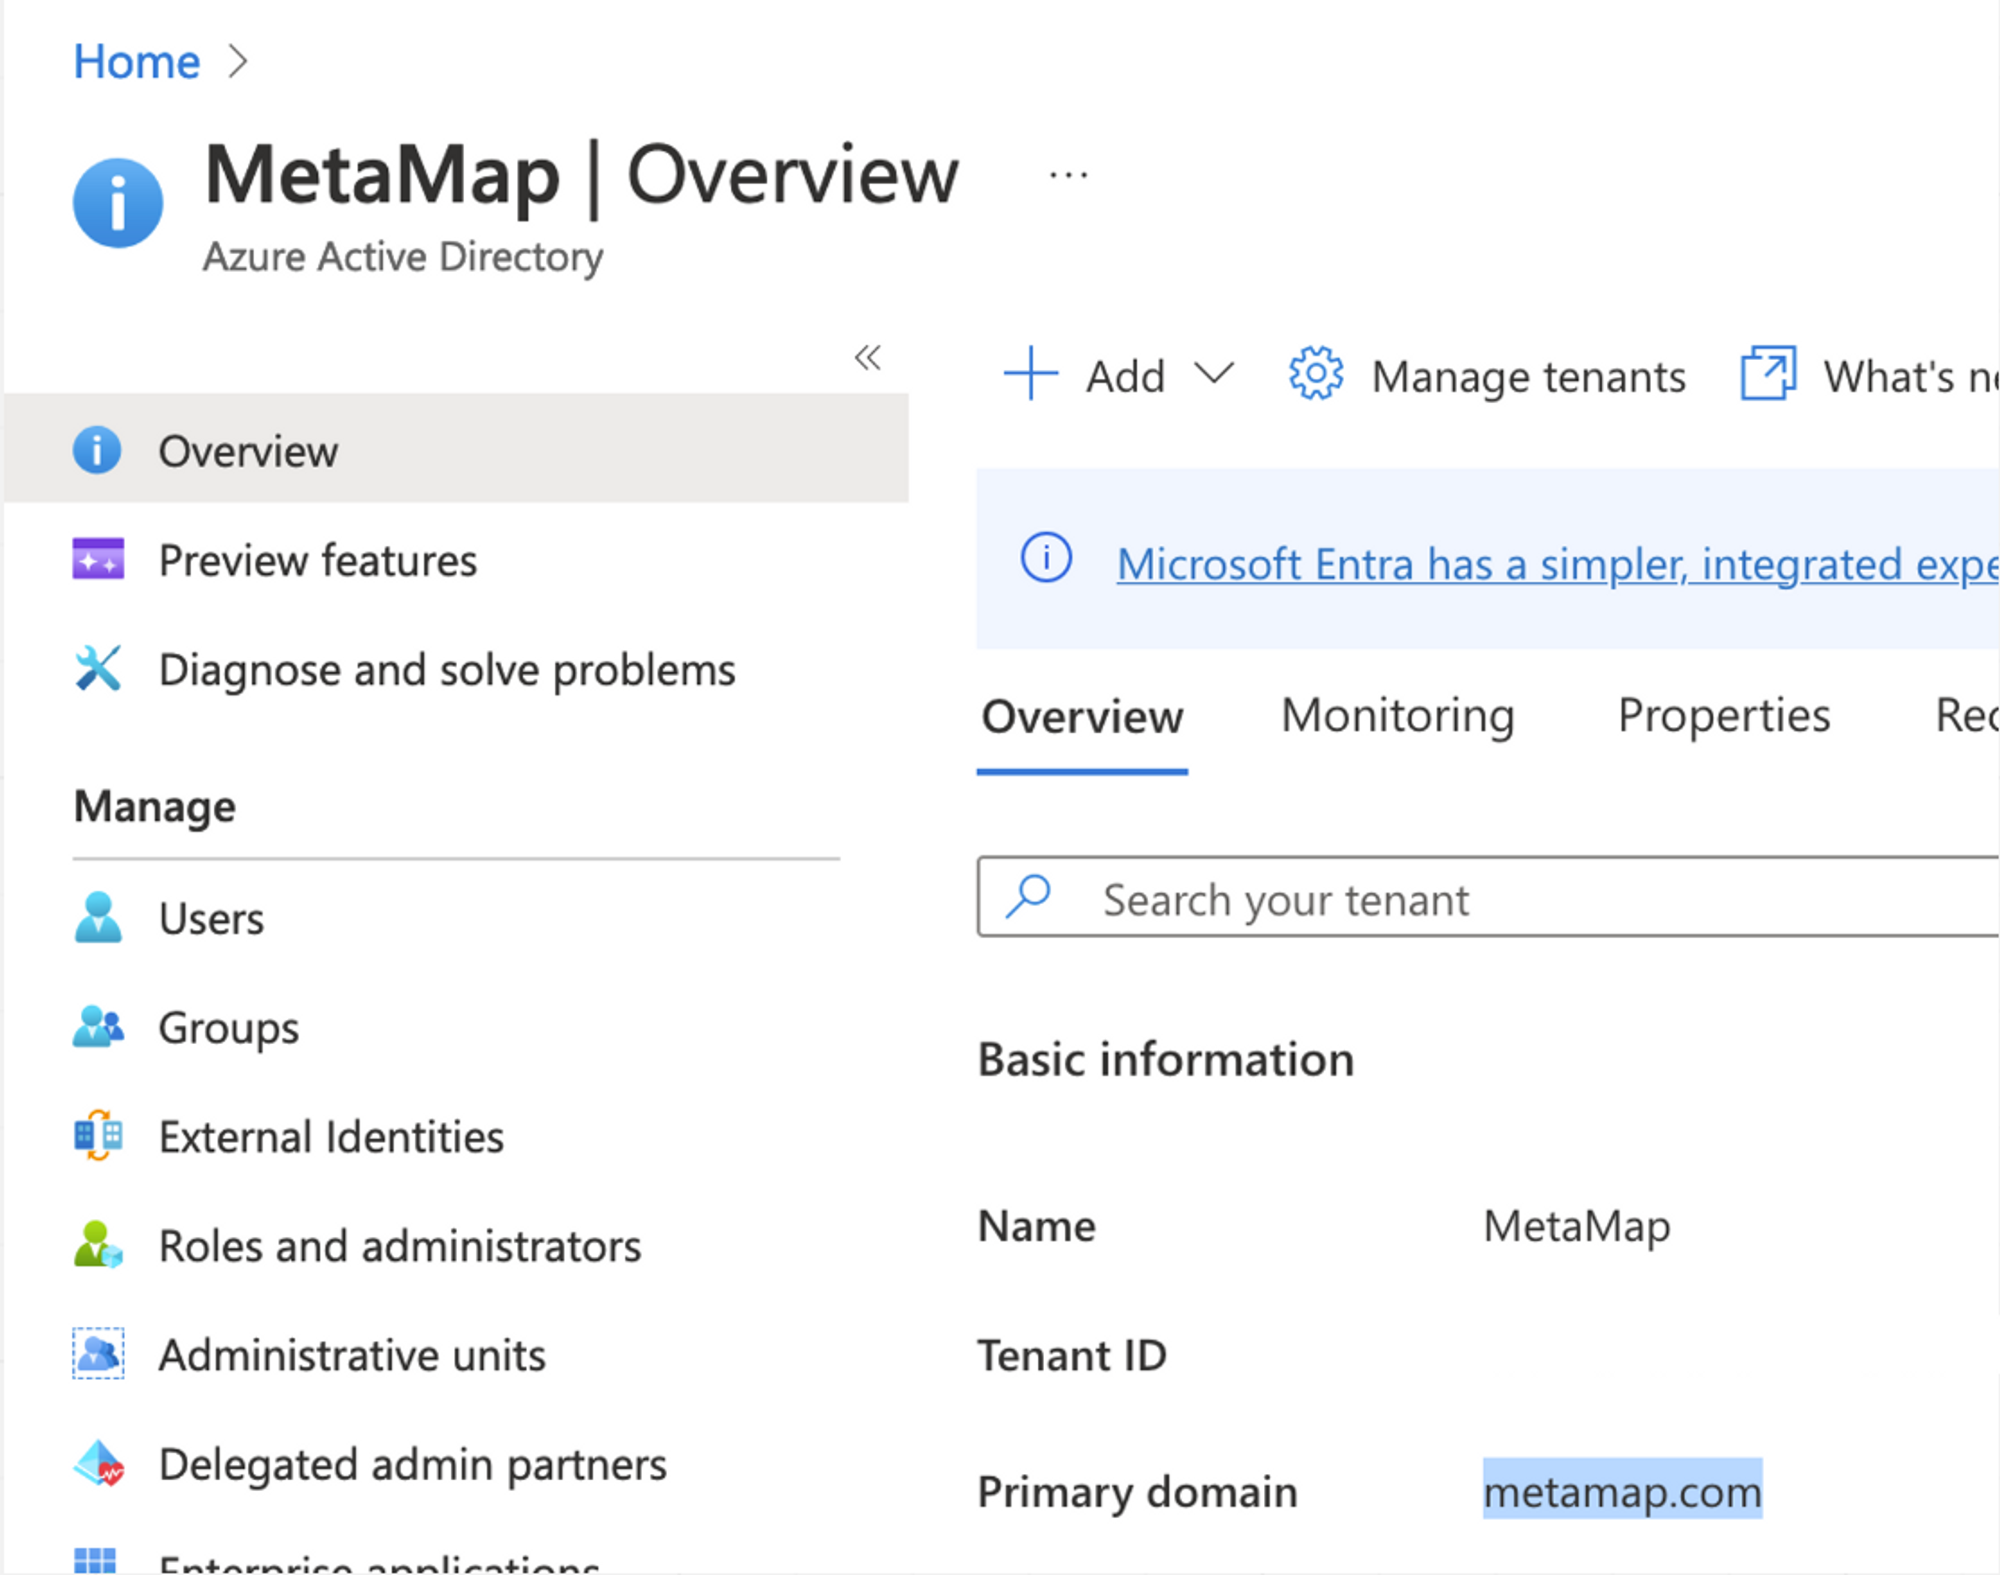
Application client ID- In your new application, click on Overview
- Copy the Application ID and include it in the email
-

-
Primary domain- In your new application, set up Primary domain. It should be the one visible under Overview
Note on email verification
Only users with a configured email in your Active Directory will be able to use SSO to enter MetaMap’s dashboard.
By default, we will assume that any user added to your Active Directory has already verified their email, and we will not require them to re-verify their email on their first login to MetaMap. If you would like to change this, please let us know.
Okta Workforce
-
Set up a new OKTA OpenID Connect (OIDC) web app integration
Follow Auth0’s documentation on how to create a new OIDC application on OKTA portal: https://auth0.com/docs/authenticate/identity-providers/enterprise-identity-providers/okta
-
Enter the following Sign-in redirect URI in your new Okta web app application
-
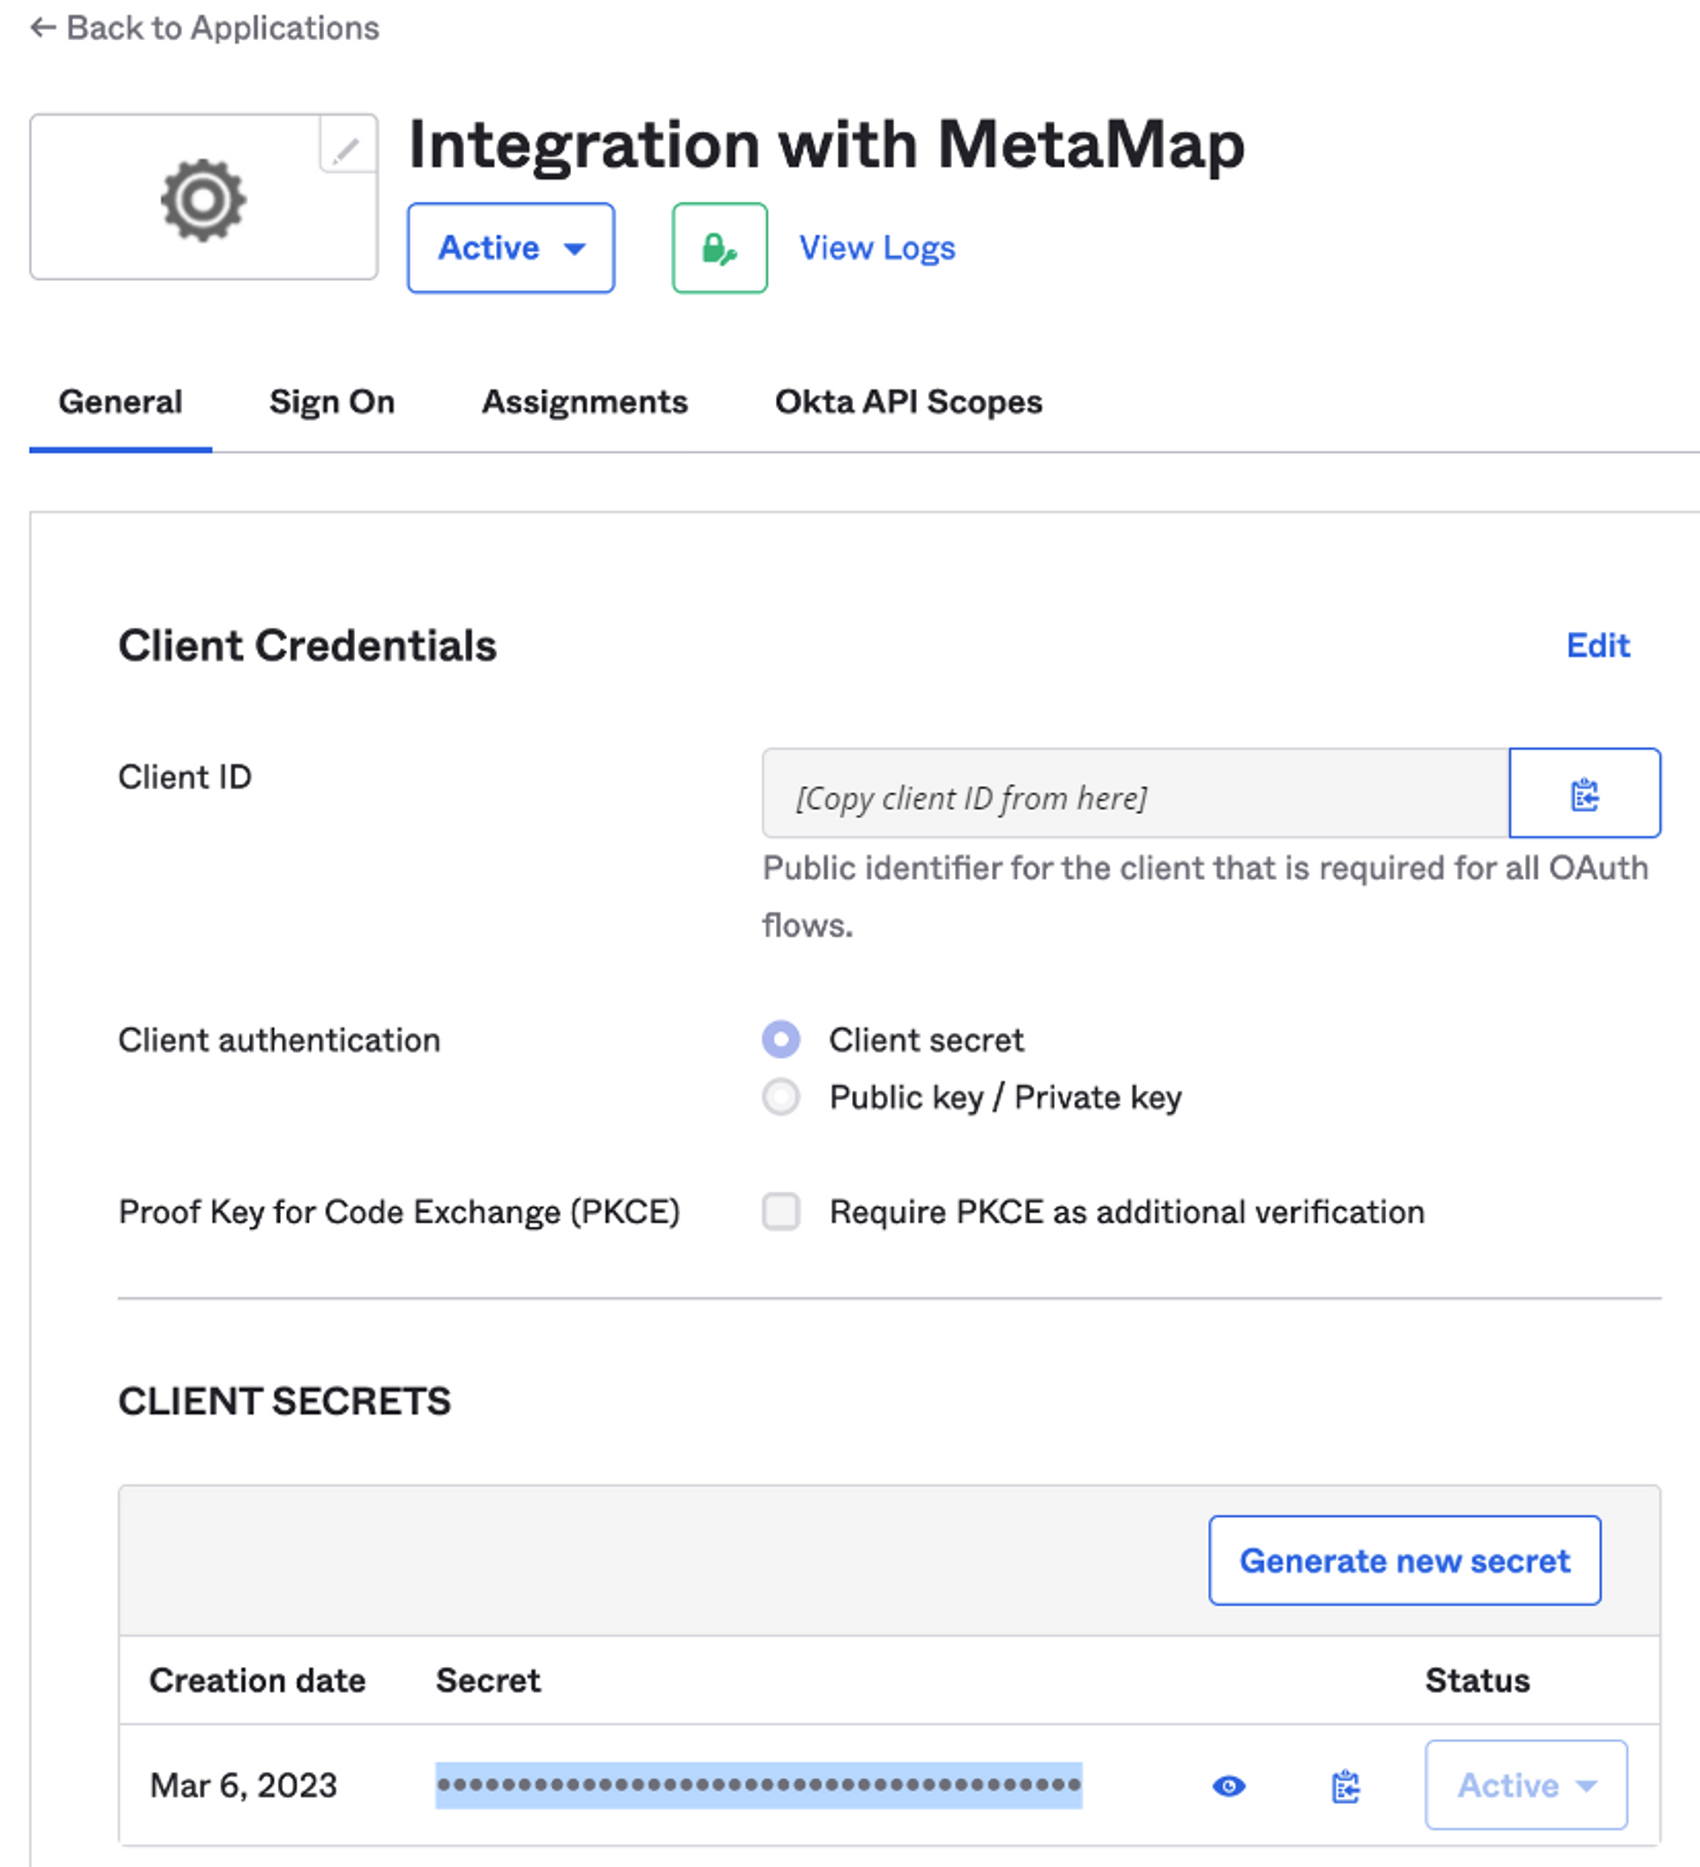
Collect the following data from your Okta application
-
Client ID- In your new application, click on General
- Copy the Client ID and include it in the email
-
-
Client secret- Under General > Client Secrets, click to Generate new secret
- Copy the client secret and include it in the email
-
Domain for Redirect URL- Configure a Custom Domain or use default OKTA’s domain and include it in the email
For example, in the screenshot below, the domain you should send us would be dev-27475084-admin.okta.com
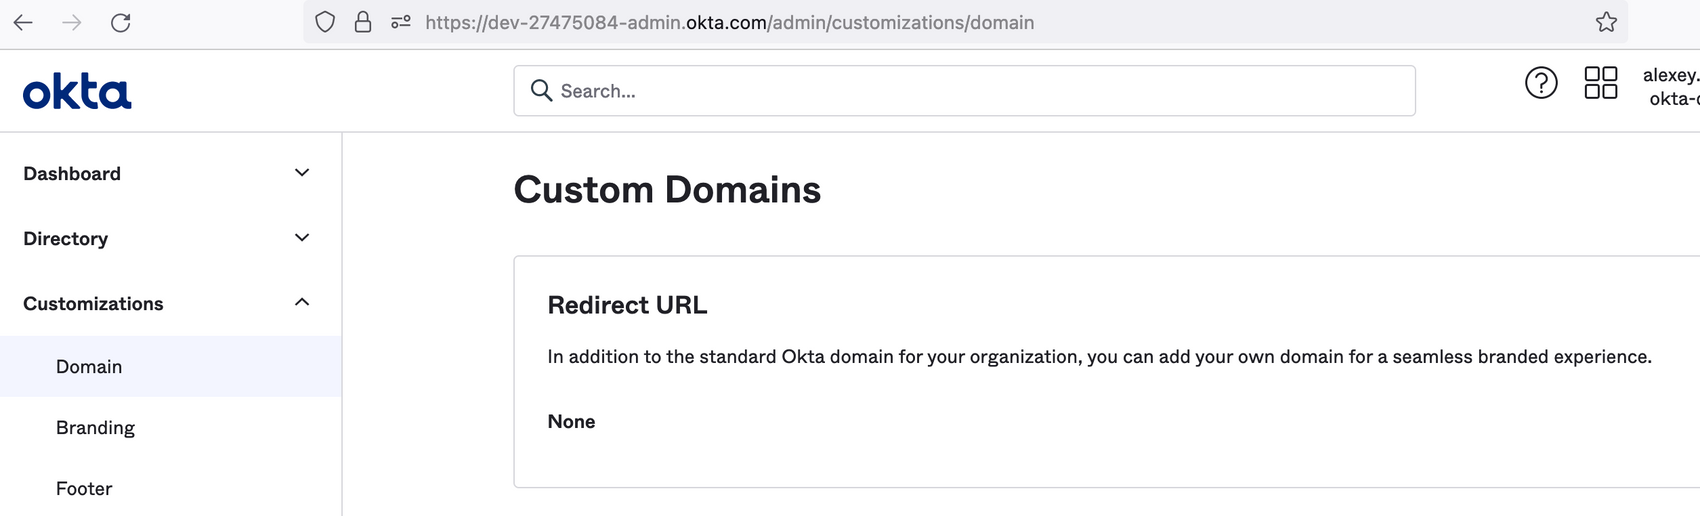
- Configure a Custom Domain or use default OKTA’s domain and include it in the email
SAML
- Configure your IDP as required to collect the following
Sign In URKX509 Signing Certificate
SAMLP server public key encoded in PEM or CER formatSign Out URL
Optional: when empty this field defaults to the Sign In URL.User ID Attribute
Optional: This is the attribute in the SAML token that will be mapped to the user_id property in Auth0.Sign Request Algorithm
RSA-SHA256 or RSA-SHA1Sign Request Algorithm Digest
SHA256 or SHA1Protocol Binding
HTTP-Redirect or HTTP-POST
Applies only to the SAML Request Binding. The SAML Response Binding only supports HTTP-POST.
- Enter the following Redirect URI in IDP
OpenID Connect
- Configure your IDP as required to collect the following
Issuer URL
The URL of the discovery document of the OpenID Connect provider you want to connect with.Client ID
Obtaining the Client ID differs across providers. Please check your provider's documentation.
- Enter the following Redirect URI in IDP
Google Workspace
- Configure your IDP as required to collect the following
Google Workspace DomainClient IDClient Secret
- Enter the following Redirect URI in IDP
ADFS
- Configure your IDP as required to collect the following
ADFS Metadata Source
ADFS URL or Federation Metadata FileADFS URL
- Enter the following Redirect URI in IDP
Active Directory/ LDAP
- Configure your IDP as required to collect the following
Display name
If set, Universal Login will show a button "Continue with {Display Name}".Logo URL
If set, Universal Login will show this icon on the 'Continue with {Display Name}' button. Image will be displayed as a 20x20px square.IdP Domains
Optional: Comma-separated list of the domains that can be authenticated in the Identity Provider. Only needed for Identifier First authentication flows.
- Enter the following Redirect URI in IDP
Ping Federate
- Configure your IDP as required to collect the following
PingFederate Server URLX509 Signing Certificate
PingFederate server public key encoded in PEM or CER formatSign Request Algorithm
RSA-SHA256 or RSA-SHA1Sign Request Algorithm Digest
SHA256 or SHA1
- Enter the following Redirect URI in IDP
Step 2: Send your configuration details to MetaMap
Send the data specified in the previous step to [email protected] securely fromthe email associated with an Admin user in your MetaMap dashboard account.
In your email include:
- What login methods (identity providers, social logins, and/or email + password) you would like to make available for your dashboard users. You can add as many as you want.
- The date you would like SSO enabled on your dashboard
- The data required from Step 1. using an "archive" OR the "output file" from the encryption instructions below
Encrypt sensitive data before sending it to MetaMap
We will require you to send your Client ID and Client Secret to us securely for us to configure in our authentication platform. There are two options:
Use an archive with a password
- Create a text file with the Client ID and Client Secret
IDs.txt- Archive the file with a password. 7-Zip is a free file archiver
- Use a strong password with at least 16 characters in length
- Send the archive over email to [email protected]
- Send the password to MetaMap via an alternative channel like Slack or SMS
- Delete the text file and archive from the computer
Use a PGP encrypted file
- Create a text file with the Client ID and Client Secret
IDs.txt- Download MetaMap’s public PGP key MetaMap.pub
- Import MetaMap’s public PGP key
gpg --import MetaMap.pub- Encrypt the text file
gpg --encrypt --recipient [email protected] IDs.txt- Send the resulting output file
IDs.txt.gpgover email to [email protected]- Delete the text file from the computer

Updated over 2 years ago